Repairing a Wall and Ceiling That’s Been Damaged by Water: A Step-by-Step Guide
Water damage can be a major headache for homeowners, causing not only structural issues but also health hazards. If you’ve noticed water stains or mold growth on your walls or ceiling, it’s essential to address the problem as soon as possible to prevent further damage. In this guide, we’ll walk you through the steps of repairing a wall and ceiling that’s been damaged by water.
At Simple Solution, we specialize in home improvements and repairs, including water damage restoration. Our team of experienced professionals can help you assess the damage, prepare the area, and repair any affected areas. If you’re facing water damage in your home, don’t hesitate to contact us for a free consultation and estimate.
Steps on Repairing Wall and Ceiling Damaged by Water

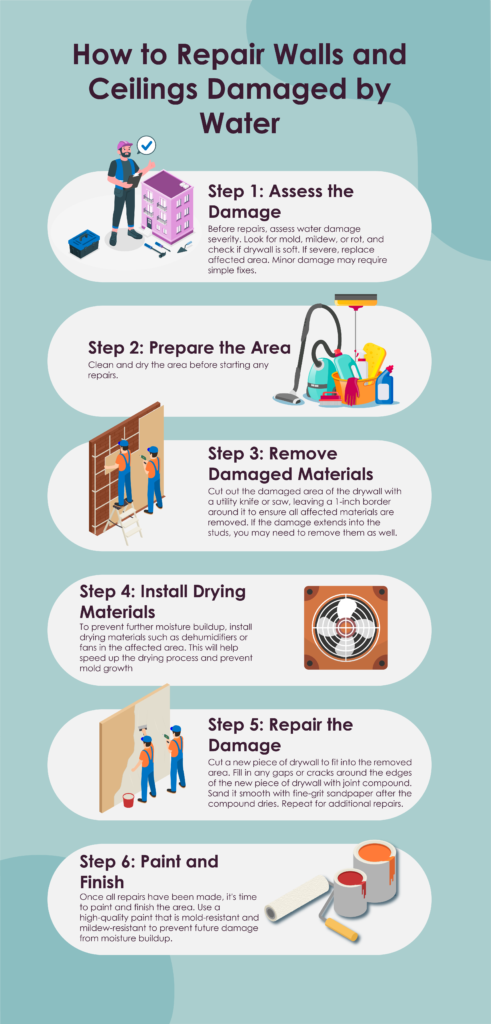
Step 1: Assess the Damage
Before starting any repairs, it’s crucial to assess the extent of the water damage. Look for signs of mold, mildew, or rot, and check if the drywall is soft or spongy. If the damage is severe, it may be necessary to replace the affected area entirely. However, if the damage is minor, you may be able to repair it with some simple fixes.
Step 2: Prepare the Area
Before starting any repairs, make sure the area is clean and dry. Use a vacuum cleaner to remove any debris or loose material from the damaged area. If there is still standing water, use a wet-dry vacuum or a mop to remove it. Allow the area to dry completely before proceeding with the repairs. This will help prevent mold growth and ensure that the repairs are successful.
Step 3: Remove Damaged Materials
Using a utility knife or a saw, carefully cut out the damaged area of the drywall. Make sure to leave a border of at least 1 inch around the damaged area to ensure that all affected materials are removed. If the damage extends into the studs, you may need to remove them as well.
Step 4: Install Drying Materials
To prevent further moisture buildup, install drying materials such as dehumidifiers or fans in the affected area. This will help speed up the drying process and prevent mold growth. Leave these materials in place for several days until the area is completely dry.
Step 5: Repair the Damage
Once the area is dry, it’s time to repair the damage. Start by measuring and cutting a new piece of drywall to fit into the removed area. Use joint compound to fill in any gaps or cracks around the edges of the new piece of drywall. Allow this compound to dry completely before sanding it smooth with fine-grit sandpaper. Repeat this process for any additional repairs needed in the area.
Step 6: Paint and Finish
Once all repairs have been made, it’s time to paint and finish the area. Use a high-quality paint that is mold-resistant and mildew-resistant to prevent future damage from moisture buildup. Allow the paint to dry completely before using the repaired area again.
In conclusion, repairing a wall and ceiling that’s been damaged by water requires careful assessment, preparation, and repair techniques. By following these steps, you can successfully repair any water damage in your home and prevent further issues from arising in the future!
At Simple Solution, we pride ourselves on providing top-quality home improvement and repair services to our clients. Contact us today at +1 617-206-7163 for all your home improvement needs!
